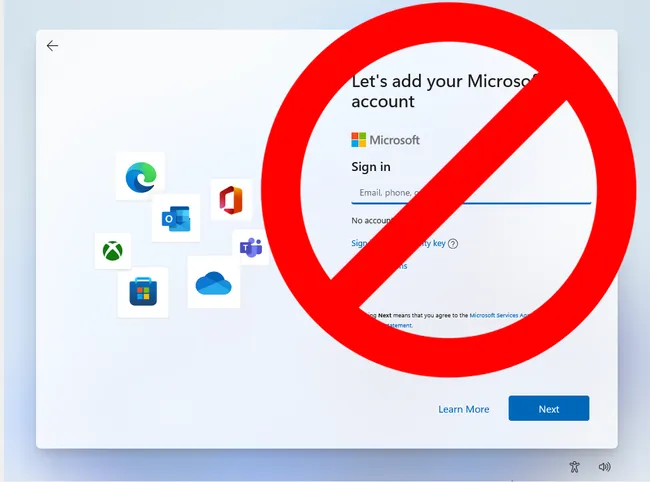
There’s a simple trick for setting up Windows 11 with a local account that involves issuing a command to keep the OOBE from requiring Internet and then cutting off Internet at just the right time in the setup process. This works the same way whether you are doing a clean install of Windows 11 or following the OOBE process on a store-bought computer.
1. Follow the Windows 11 install process until you get to the “choose a country” screen.
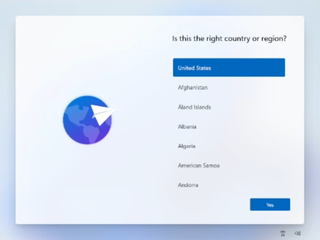
Now’s the time to cut off the Internet. However, before you do, you need to issue a command that prevents Windows 11 from forcing you to have an Internet connection.
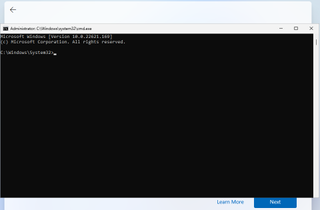
2. Hit Shift + F10. A command prompt appears.
Stay On the Cutting Edge: Get the Tom’s Hardware Newsletter
Get Tom’s Hardware’s best news and in-depth reviews, straight to your inbox.Contact me with news and offers from other Future brandsReceive email from us on behalf of our trusted partners or sponsorsBy submitting your information you agree to the Terms & Conditions and Privacy Policy and are aged 16 or over.
3. Type OOBE\BYPASSNROto disable the Internet connection requirement.
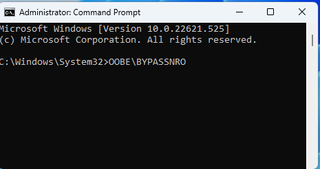
The computer will reboot and return you to this screen.
4. Hit Shift + F10 again and this time Type ipconfig /release. Then hit Enter to disable the Internet. This effectively disconnects your computer from the Internet. If you’re on Ethernet, you could just disconnect the plug, but this is just as easy if not easier.
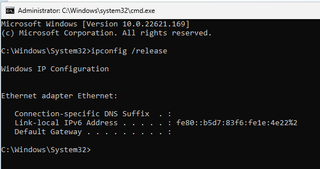
5. Close the command prompt.
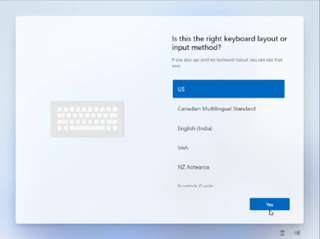
6. Continue with the installation, choosing the region. keyboard and second keyboard option.
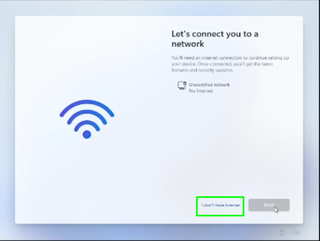
A screen saying “Let’s connect you to a network” appears, warning you that you need Internet.
7. Click “I don’t have Internet” to continue.
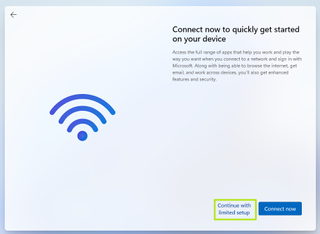
8. Click Continue with limited setup if prompted. The OOBE may skip this screen and take you straight to the next step.
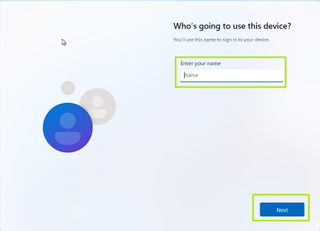
A new login screen appears asking “Who’s going to use this device?”
9. Enter a username you want to use for your local Windows 11 account and click Next.
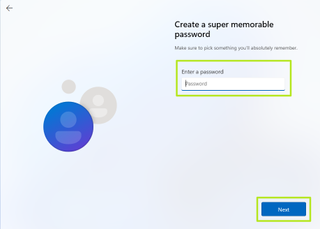
10. Enter a password you would like to use and click Next. You can also leave this field blank and have no password, but that’s not recommended.
11. Complete the rest of the install process as you normally would.

