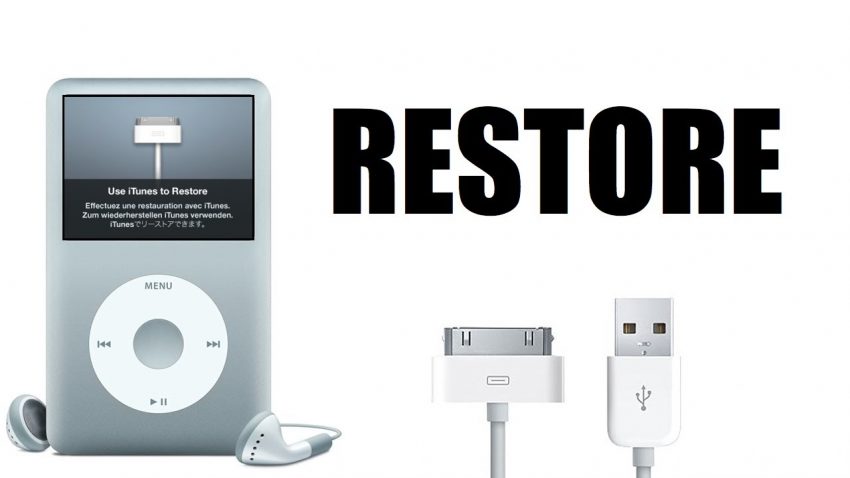
I could not find this information and saw some people in the forums asking, but the answer was always to find a Windows or Mac machine to do the restore. This is actually not necessary and it ended up being a really simple process to restore my iPod with only Ubuntu.
Warning: This will erase ALL data on your iPod. You should only restore your iPod as a last resort.
You’ll need to find out which device name your iPod uses, so plug it in and unmount it (but not eject) if it is automatically mounted by Ubuntu.
Then open up a terminal and:
sudo fdisk -l
To get a list of drives and partitions. Find the one that matches your iPod. If it’s Windows-formatted, you’ll have 2 partitions. HFS+, Mac-formatted iPods have 3 partitions. Note whether your iPod is at /dev/sda (although this is probably your hard drive!), /dev/sdb, /dev/sdc, etc.
For the rest of this article, you will replace /dev/sdx or /dev/sdx1 with your proper device name (and the trailing number, where it exists).
1. Go to the Rockbox project iPod FAT32 conversion page and download the correct MBR file for your iPod model. If you are unsure of your model, go to Felix Bruns’ iPod firmware site and click the link for “If you don’t know what iPod or specific iPod generation you got, click here”. Enter the last 3 characters of your iPod’s serial number and it will tell you your iPod generation and size. Go ahead and download the firmware for your iPod because you will need it momentarily.
2. Once you have your MBR file, write the partition table to your iPod. The example is for my 4th generation 20gb iPod classic.
sudo dd if=mbr-4g-20gb.bin of=/dev/sdx
Now make Ubuntu re-read the partition table:
sudo hdparm -z /dev/sdx
3. If you haven’t already, download the proper firmware for your iPod from Felix Brun’s iPod firmware site. The file will have a .ipsw extension, but it is actually just a .zip file that has been renamed. Rename it to .zip and extract it. You will find two files inside the folder:
manifest.plist which we will ignore
Firmware-#.#.#.# which we will write to the iPod
sudo dd if=Firmware-#.#.#.# of=/dev/sdx1
4. Format the second partition as FAT32, Windows-formatted
sudo mkfs.vfat -F 32 /dev/sdx2
(Note: If you are restoring a 5.5gen iPod, look for more information on the Rockbox project iPod conversion page where they explain the difference with the 5.5gen iPod and explain how to properly format it.
5. Eject and disconnect your iPod from your computer. It should boot up and display an image directing you to plug it into the wall outlet. Do so and follow the on-screen directions. Do not, under any circumstances, interrupt your iPod while it is resetting. You may brick your iPod and not be able to recover it.
Once your iPod has reset, it should be ready to go.
If you can’t get your iPod to show in Ubuntu (doesn’t show with fdisk -l), try putting the iPod in disk mode before connecting it to the computer. For my iPod, you simply hold select and menu until the Apple logo appears and then hold select and play until it shows “disk mode”. This allowed me to access the drive on the iPod without it being in the infinite loop it was otherwise in.

